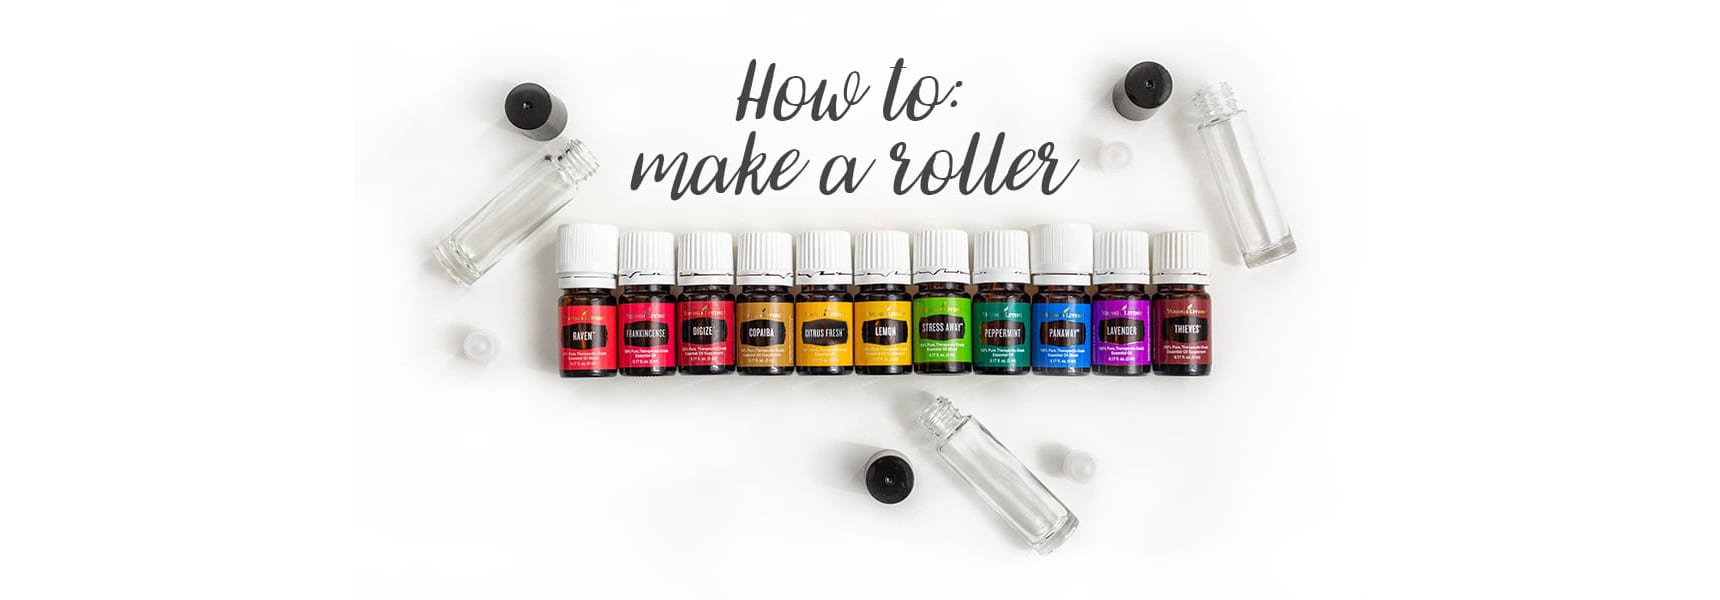
Congrats! You have your oils, now the best way to see their benefits is to use them!
Whether you just got your kit or you’re coming back to your oils again after a hiatus, these on-the-go, pre-mixed rollers will make using your oils a breeze. It really is the perfect way to get you in the habit of reaching for your oils first!
This post goes through the easy steps of making a roller – never hesitate to reach out and ask me any questions!
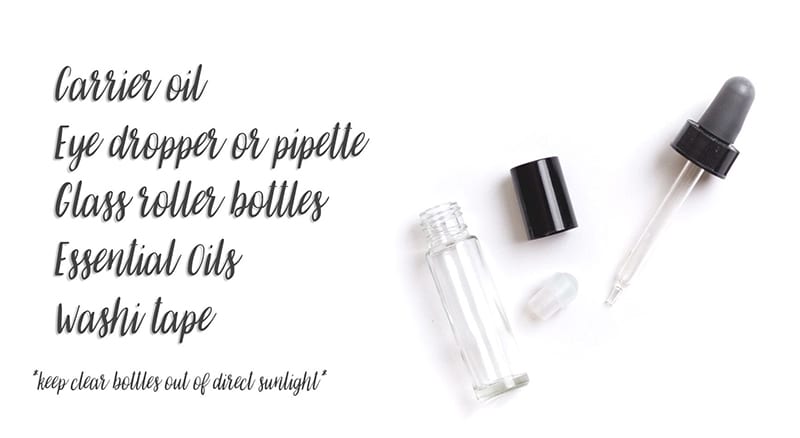
Step 1: Gather supplies
Carrier oil of your choice (Avocado, Jojoba and Sunflower are great oils!)
Eye dropper or Pipette
Glass roller bottles
(keep clear bottles out of direct/constant sunlight)
PRO TIP: For bottles you want to leave out on counter tops or in spaces where sun might reach them, buy colored or coated bottles to protect from UV rays. Amazon.com is a great place to browse for bottles!
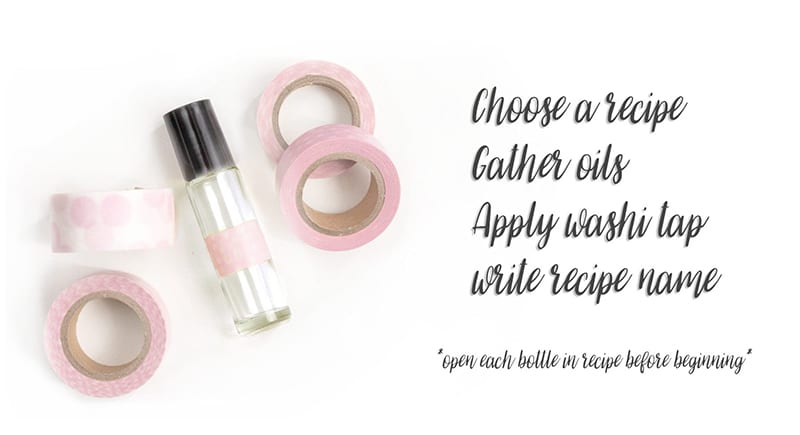
Step 2: Choose your recipe
There are a lot of options out there for mixing and blending together, but starting with the oils in your PSK is a great place to start! You can also check out more advanced options is books like The Art of Blending by Debra Rayburn
PRO TIP: Use washi tape (can purchase on Amazon or at Target/a craft store) to label your bottles. Once you’ve picked your recipe, put the tape on and write the blend on it BEFORE dropping your oils in the bottle
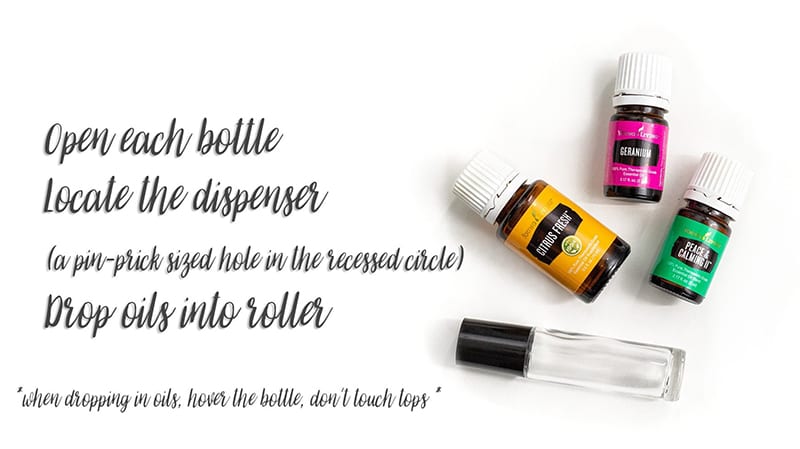
STEP 3: Carefully drop in the essential oils
Before you start dripping in your essential oils, take a peek at the dispenser (this is the semi-opaque piece you see under the white lid) The essential oil does not drop out of that larger, center hole; there’s a pin-prick sized hole in the recessed circle. That pin-prick hole size varies depending on the viscosity of the EO (example: citrus oils are very thin and come out fast, so the hole is small)
PRO TIP: Don’t touch the EO bottle to the glass roller bottle, instead, hover it over the top!

Step 4: Add the carrier oil
With your carrier oil. make sure you choose a liquid oil. Please don’t use butter, margarine, shortening or synthetic oils.
Olive oil, Jojoba oil, Grapeseed, Safflower, Sunflower and Avocado oil are all great options!
Young Living also makes a fabulous V6 Carrier Oil as well!
PRO TIP: Jojoba oil (Pronounced: ho-ho-bah) is great for your face and Sunflower seed oil has a long shelf life. You can also make separate rollers for mixes you’ll use on different body parts (one wellness roller for the bottom of feet and one for along your spine)
Step 5: Close it up
This next part seems easy, right? Place roller top on bottle, twist & seal shut! But sometimes the roller top can be a bit stubborn. But guess what? You don’t need to push too hard because they will seal well once you screw that cap back on. So don’t strain too hard if it isn’t fitting, try using the lid to help you!
PRO TIP: You can purchase different kinds of roller tops made out of different crystals and materials. Google the benefits of adding crystals or other natural materials in your rollers!
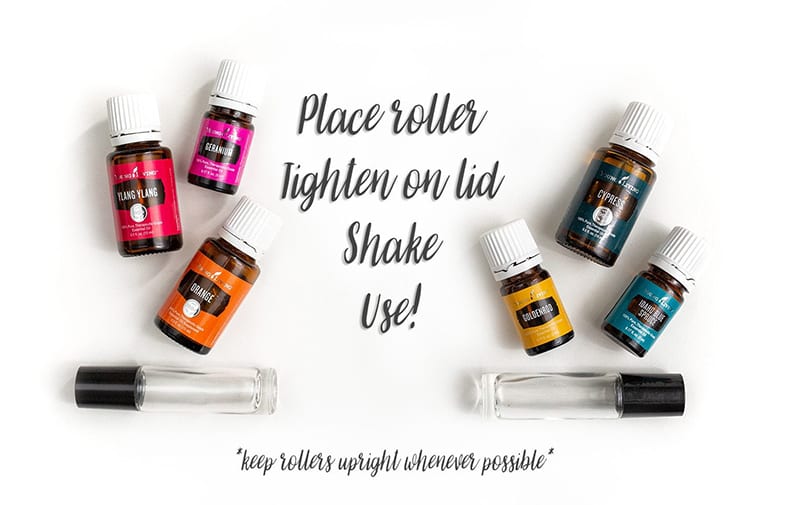
Step 6: Enjoy!
Once you’ve capped it off, give your new roller a good shake to mix it up! You don’t need to shake it too hard, but a little bit now and then before you use it will ensure everything stays blended!
PRO TIP: Do the best you can to keep your rollers upright in your bag when you’re on the go as some roller can leak.
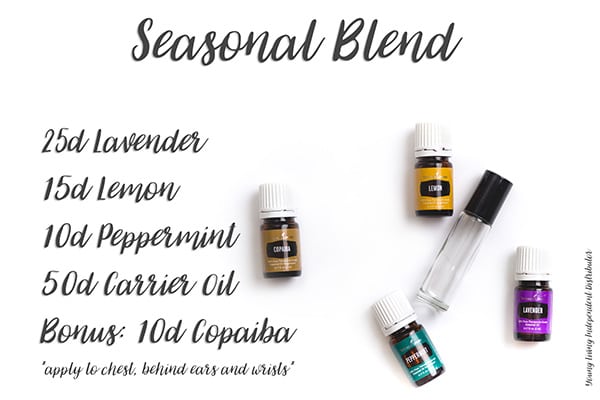
BONUS! This is one of my favorite recipes to make with a roller : )
Step 1: Gather your supplies
Carrier oil of your choice (Avocado, Jojoba and Sunflower are great oils!)
Eye dropper or Pipette
Glass roller bottles
(keep clear bottles out of direct/constant sunlight)
PRO TIP: For bottles you want to leave out on counter tops or in spaces where sun might reach them, buy colored or coated bottles to protect from UV rays. Amazon.com is a great place to browse for bottles!

Step 2: Choose your recipe
There are a lot of options out there for mixing and blending together, but starting with the oils in your PSK is a great place to start! You can also check out more advanced options is books like The Art of Blending by Debra Rayburn
PRO TIP: Use washi tape (can purchase on Amazon or at Target/a craft store) to label your bottles. Once you’ve picked your recipe, put the tape on and write the blend on it BEFORE dropping your oils in the bottle

Step 3: Carefully drop in Essential Oils
Before you start dripping in your essential oils, take a peek at the dispenser (this is the semi-opaque piece you see under the white lid) The essential oil does not drop out of that larger, center hole; there’s a pin-prick sized hole in the recessed circle. That pin-prick hole size varies on the viscosity of the EO (example: citrus oils are very thin and come out fast, to the hole is small)
PRO TIP: Don’t touch the EO bottle to the glass roller bottle, instead, hover it over the top!

Step 4: Add the Carrier Oil
With your carrier oil. make sure you choose a liquid oil. Please don’t use butter, margarine, shortening or synthetic oils.
Olive oil, Jojoba oil, Grapeseed, Safflower, Sunflower and Avocado oil are all great options!
Young Living also makes a fabulous V6 Carrier Oil as well!
PRO TIP: Jojoba oil (Pronounced: ho-ho-bah) is great for your face and Sunflower seed oil has a long shelf life. You can also make separate rollers for mixes you’ll use on different body parts (one wellness roller for the bottom of feet and one for along your spine)

Step 5: Close it up
This next part seems easy, right? Place roller top on bottle, twist & seal shut! But sometimes the roller top can be a bit stubborn. But guess what? You don’t need to push too hard because they will seal well once you screw that cap back on. So don’t strain too hard if it isn’t fitting, try using the lid to help you!
PRO TIP: You can purchase different kinds of roller tops made out of different crystals and materials. Google the benefits of adding crystals or other natural materials in your rollers!

Step 6: ENJOY!
Once you’ve capped it off, give your new roller a good shake to mix it up! You don’t need to shake it too hard, but a little bit now and then before you use it will ensure everything stays blended!
PRO TIP: Do the best you can to keep your rollers upright in your bag when you’re on the go as some roller can leak.
BONUS! This is one of my favorite recipes to make with a roller : )
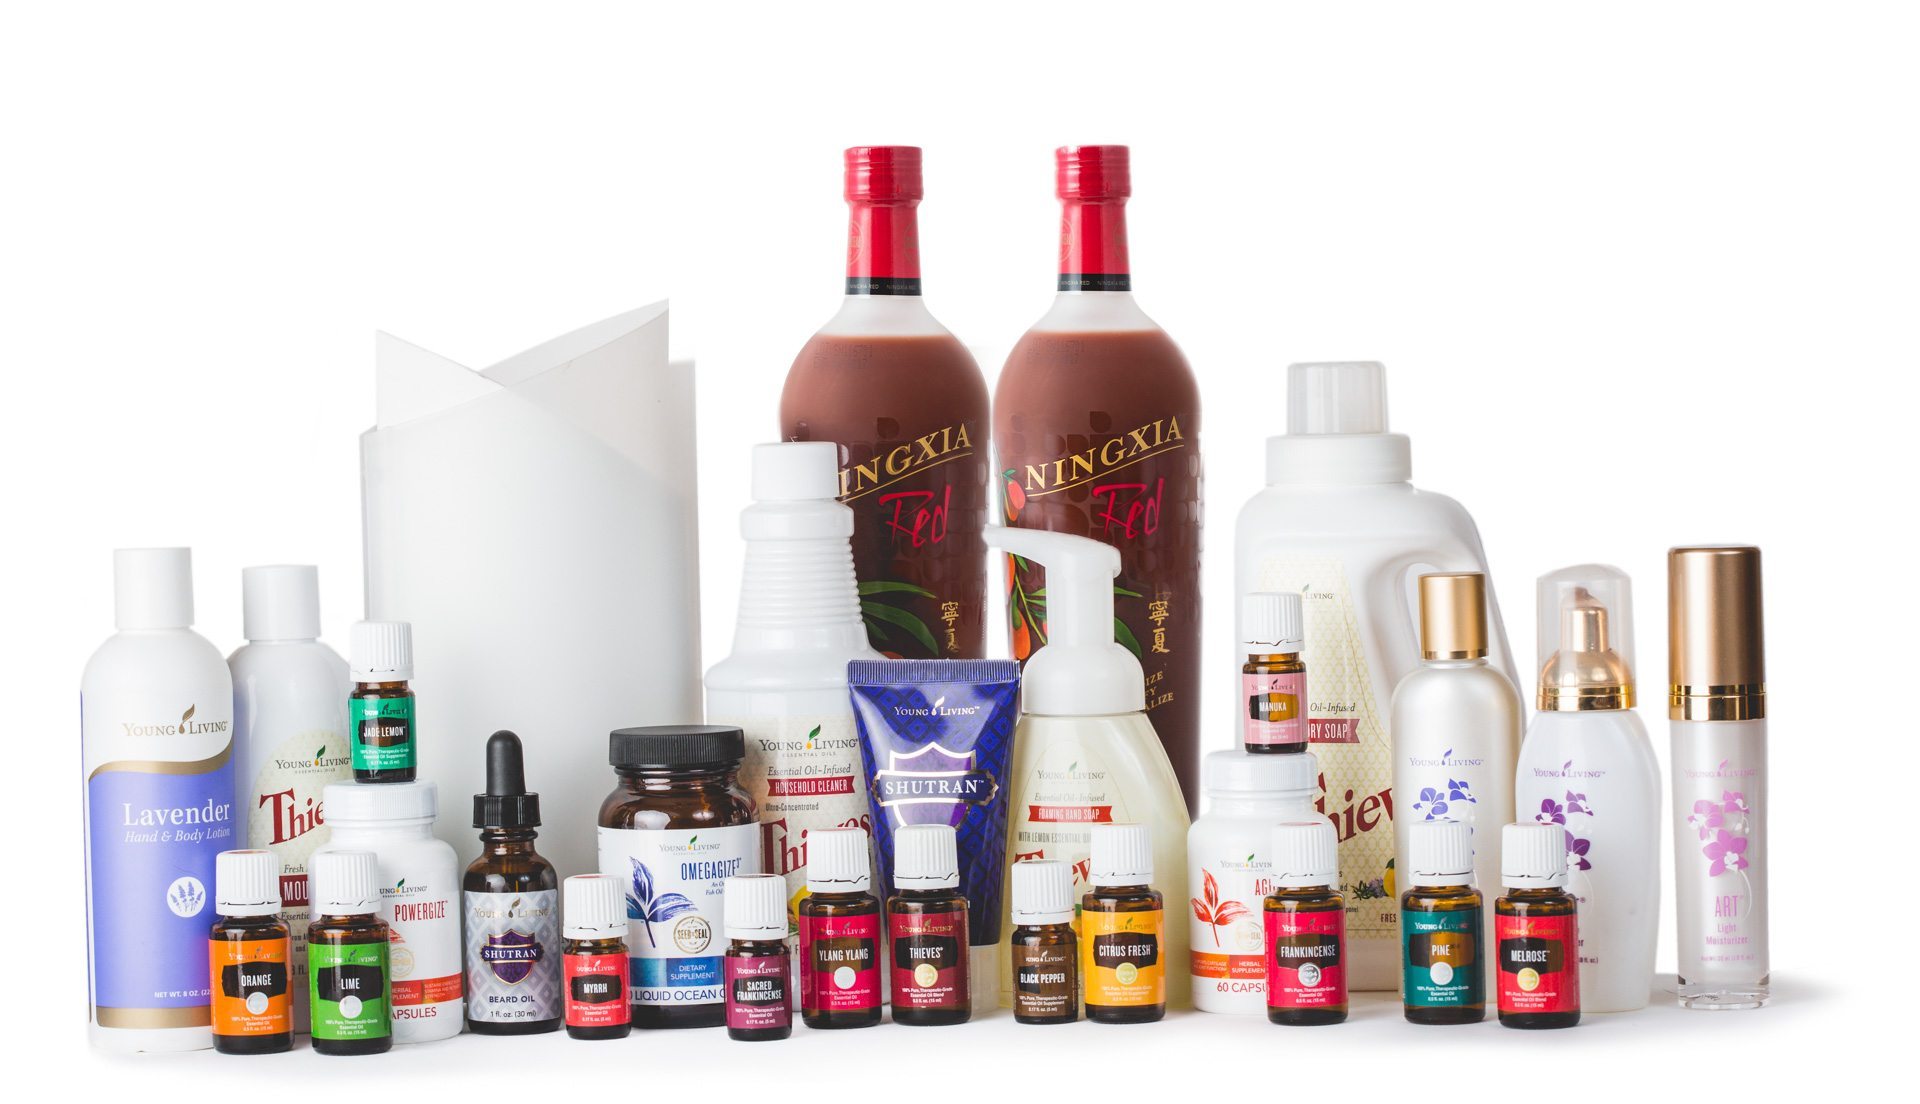
Not all essential Oils are created equal!
5